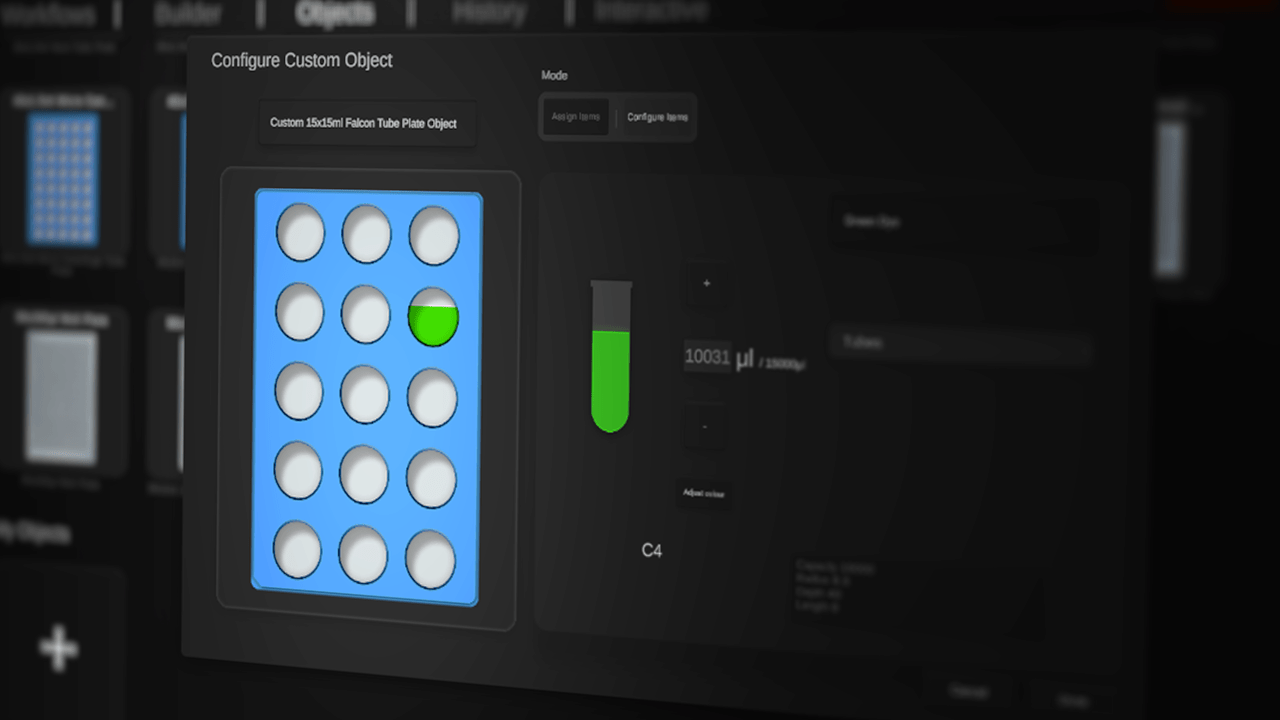
Custom Objects
In <flow>, users can create custom objects in two ways - either by editing existing objects, or creating new ones with the Object Creator. This article will go over the built-in options for editing existing objects. This is especially useful for setting up plates before building out a workflow, if you’re following instructions that explicitly lay out any plates beforehand.
I’ll demonstrate this by creating a tube rack containing 2 different reagents, then utilizing those in a workflow.
Firstly, navigate to the objects tab and select ‘Create New Object’:
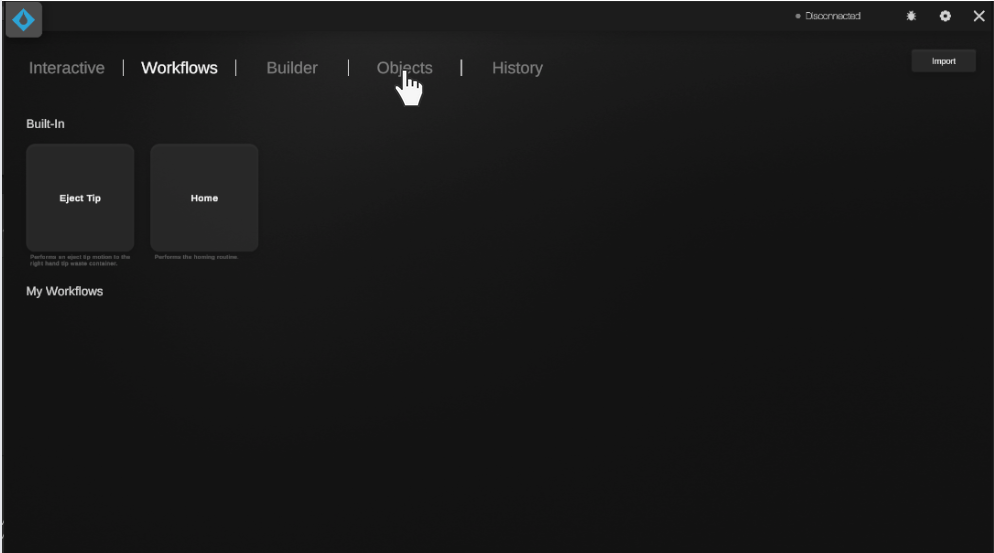
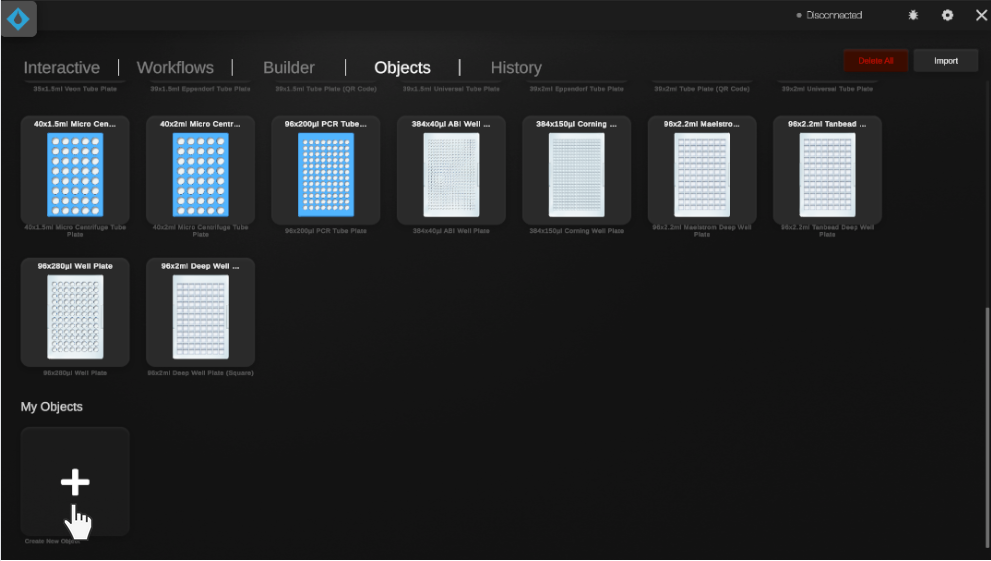
Next, I’ll select the object I wish to modify. I’ll use an Eppendorf 2mL Tube Rack for this example.
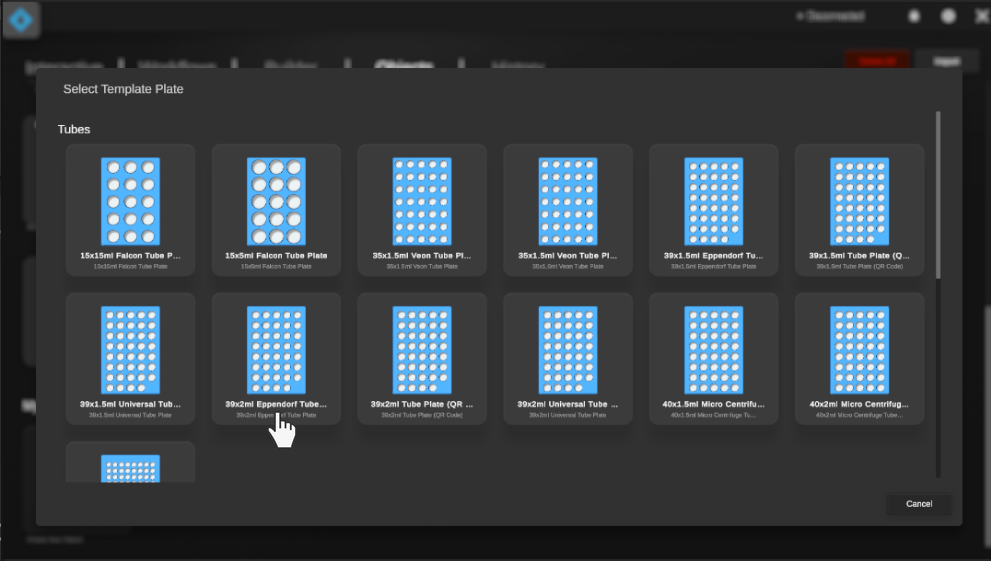
The user is prompted to name the new object before being presented with the configuration window.
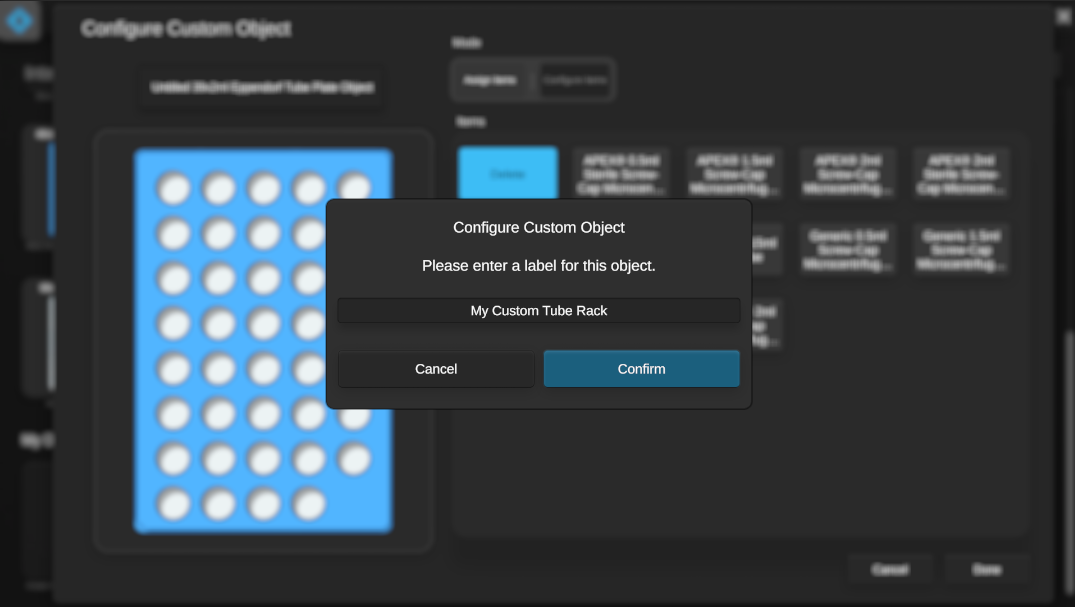
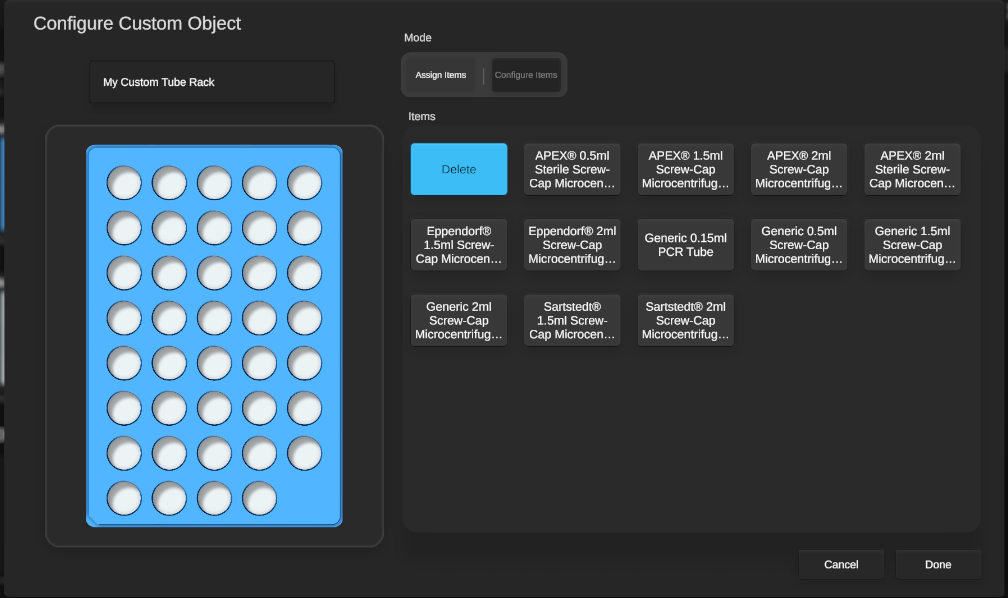
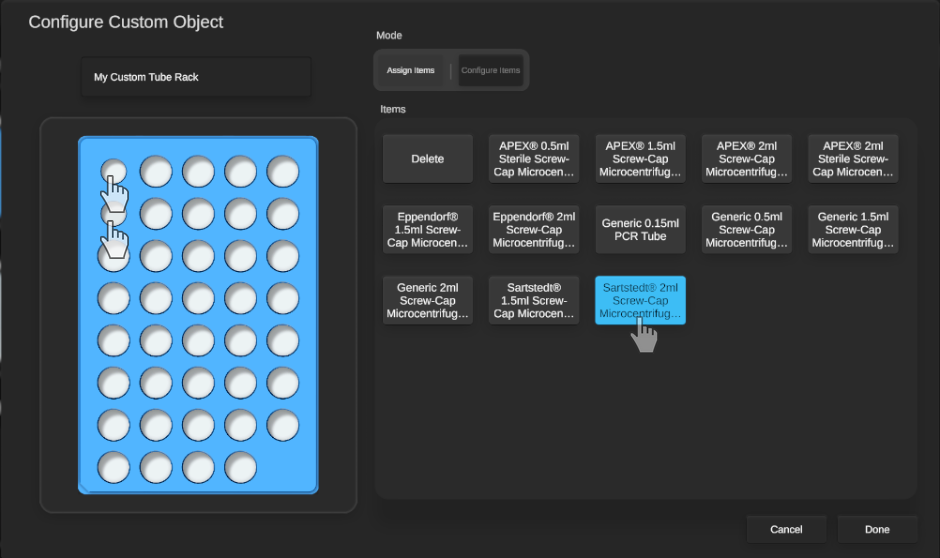
By default, the “Assign Items” mode is selected - this is where I can assign built-in flow items to overwrite the items already on the object. To demonstrate, I will assign a Sartstedt 2ml Tube to items A7 and A8.
I can now switch to “Configure Items” mode to edit these tubes. Clicking on a tube will then let me configure it.
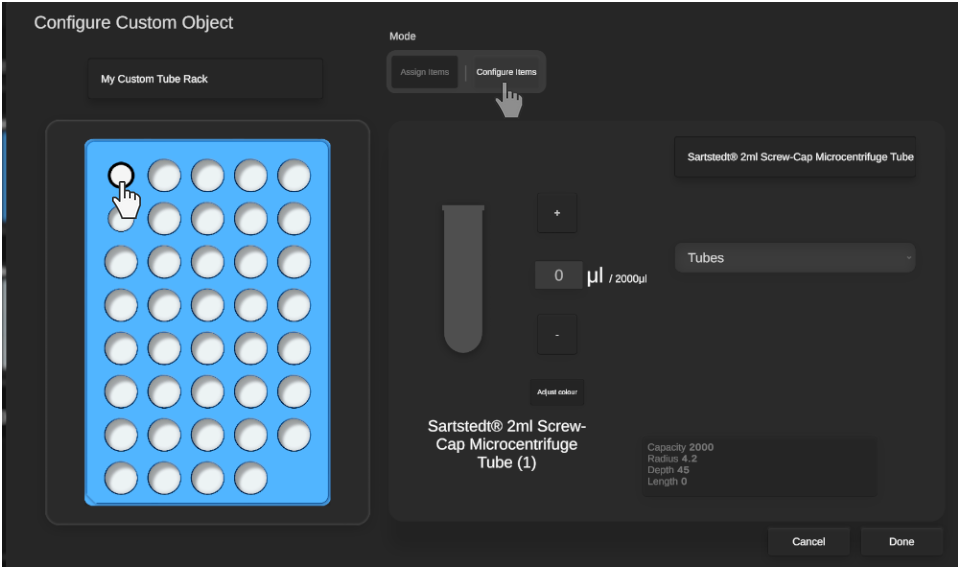
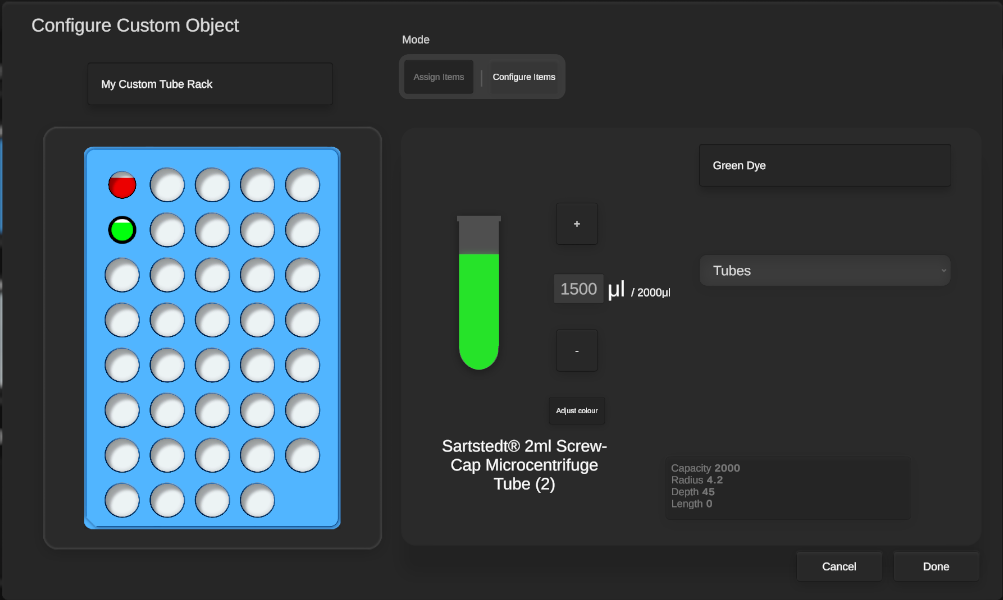
Here, I can set a name, volume and colour.
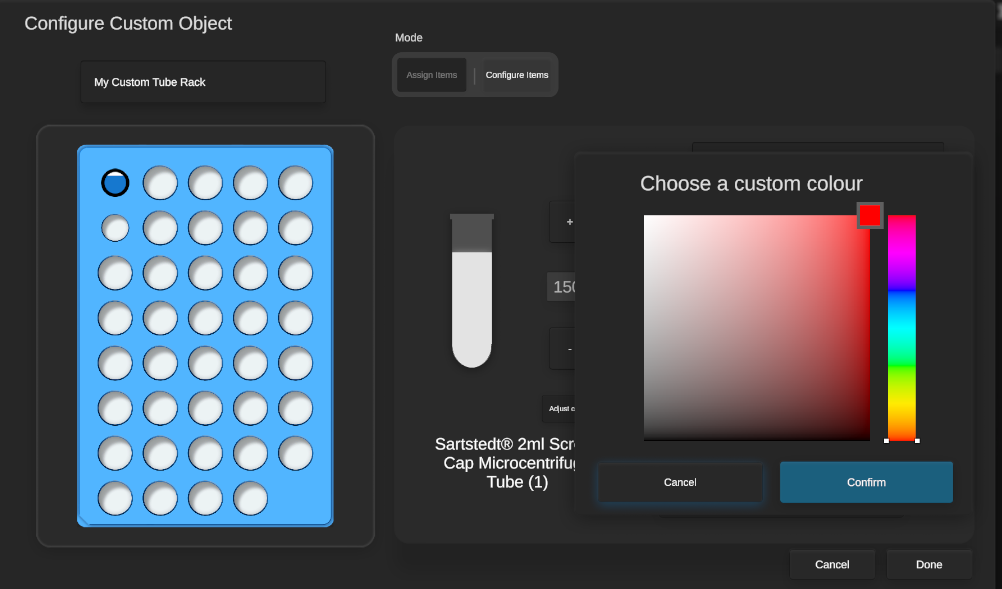
And I can repeat this for the 2nd custom tube.
With these set up, I’ll pivot to the transfer configuration window to put them into use!
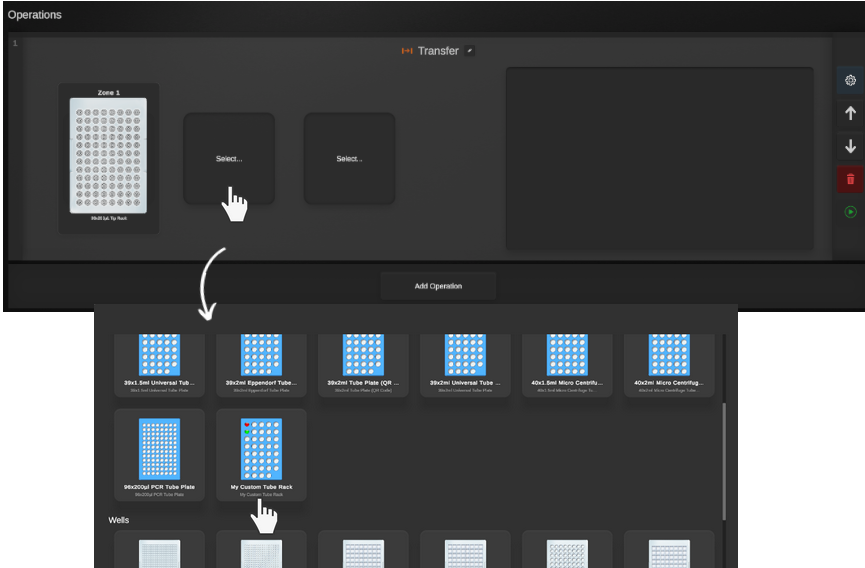

Here, I can treat the item as I would a normal item - aspirate from, dispense into, etc.


